Introduction
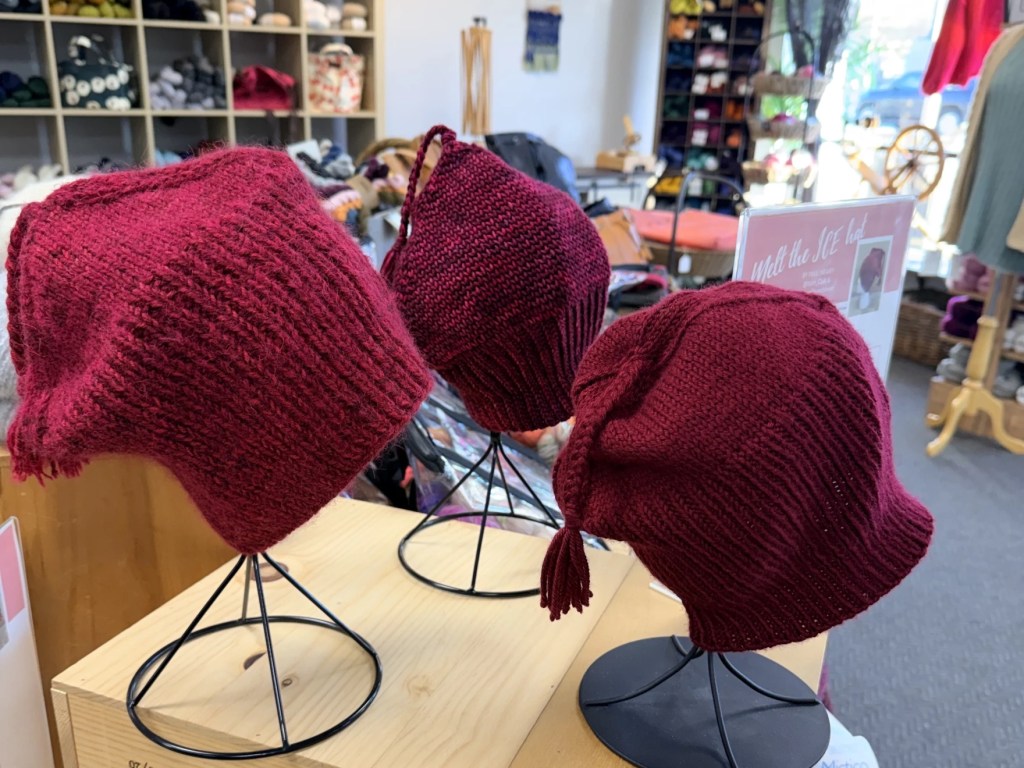
Have you ever stated a project with a super cool idea and expectation of how the project will go and then life and procrastination gets in the way and you’re project sits somewhere in your house for almost a year before you get back to it? I know that’s not just me. The particular project I’m talking about today is a woven v-cowl, the end project of which I absolutely love. Ive made four of these beautiful cowls, including the one I’m talking about today. I can’t remember how I came across this pattern but I remember I came across the finished cowls the blog Weft Blown a few years ago (they call them Hero Cowls which is honestly way cooler than a v-cowl). I decided to try out the pattern for myself and found several very in-depth how-to videos from Kari Fell on YouTube and made my first v-cowl. Unfortunately I don’t have a picture of that first cowl; it was a gift for my sister and I haven’t seen the finished product since I gave it to her. But I do have a picture of my second cowl, one I made for myself and I wear frequently in the winters:
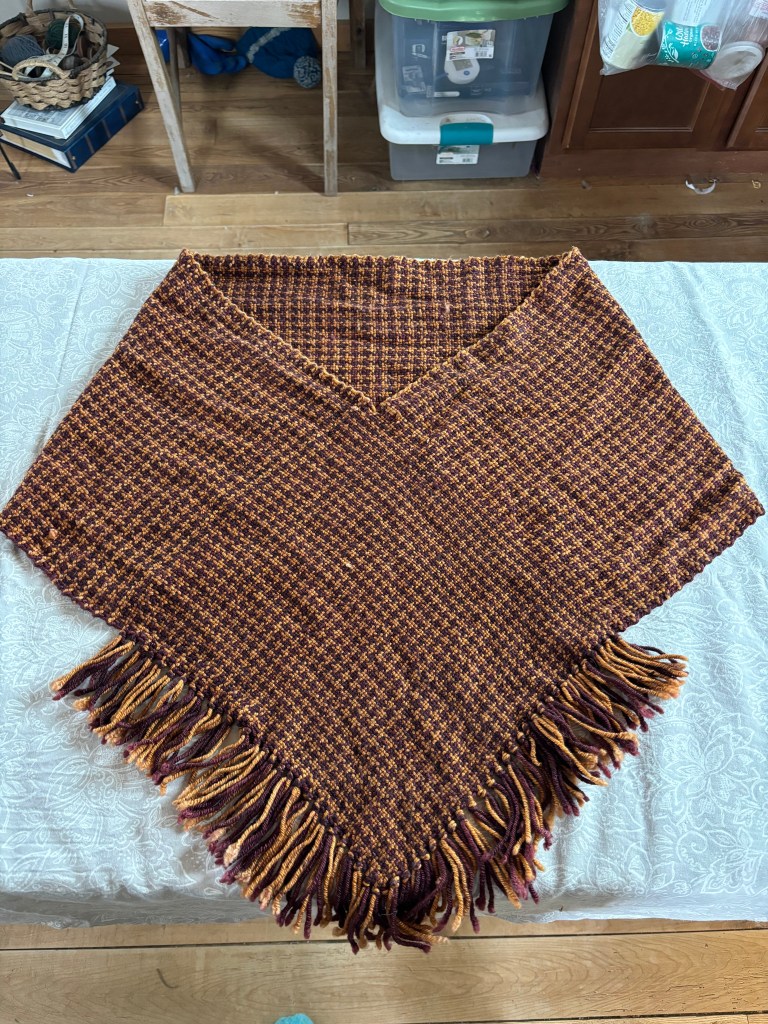
The three cowls I made before the one we’ll be focusing on today were basically all the same: I wove them each in a Houndstooth pattern, the two contrasting colors being the intended persons Hogwarts house colors. Very whimsical.
I varied the widths and the lengths on each of the projects trying to find the configuration I preferred best. I’m not sure Ive found the right length yet but I do like the 10 inch width better than the 16 inch width that my cowl (pictured above) is warped at. I might still play around with the widths and lengths in future projects but those are easy changes to make.
Lets talk about this last v-cowl I made though.
V-cowls are made on a Rigid Heddle Loom. A Rigid Heddle is the loom I started on. Here is the one that I have but there are lots of options out there, so if you are looking for a Rigid Heddle Loom you should find the one that’s going to work best for you.
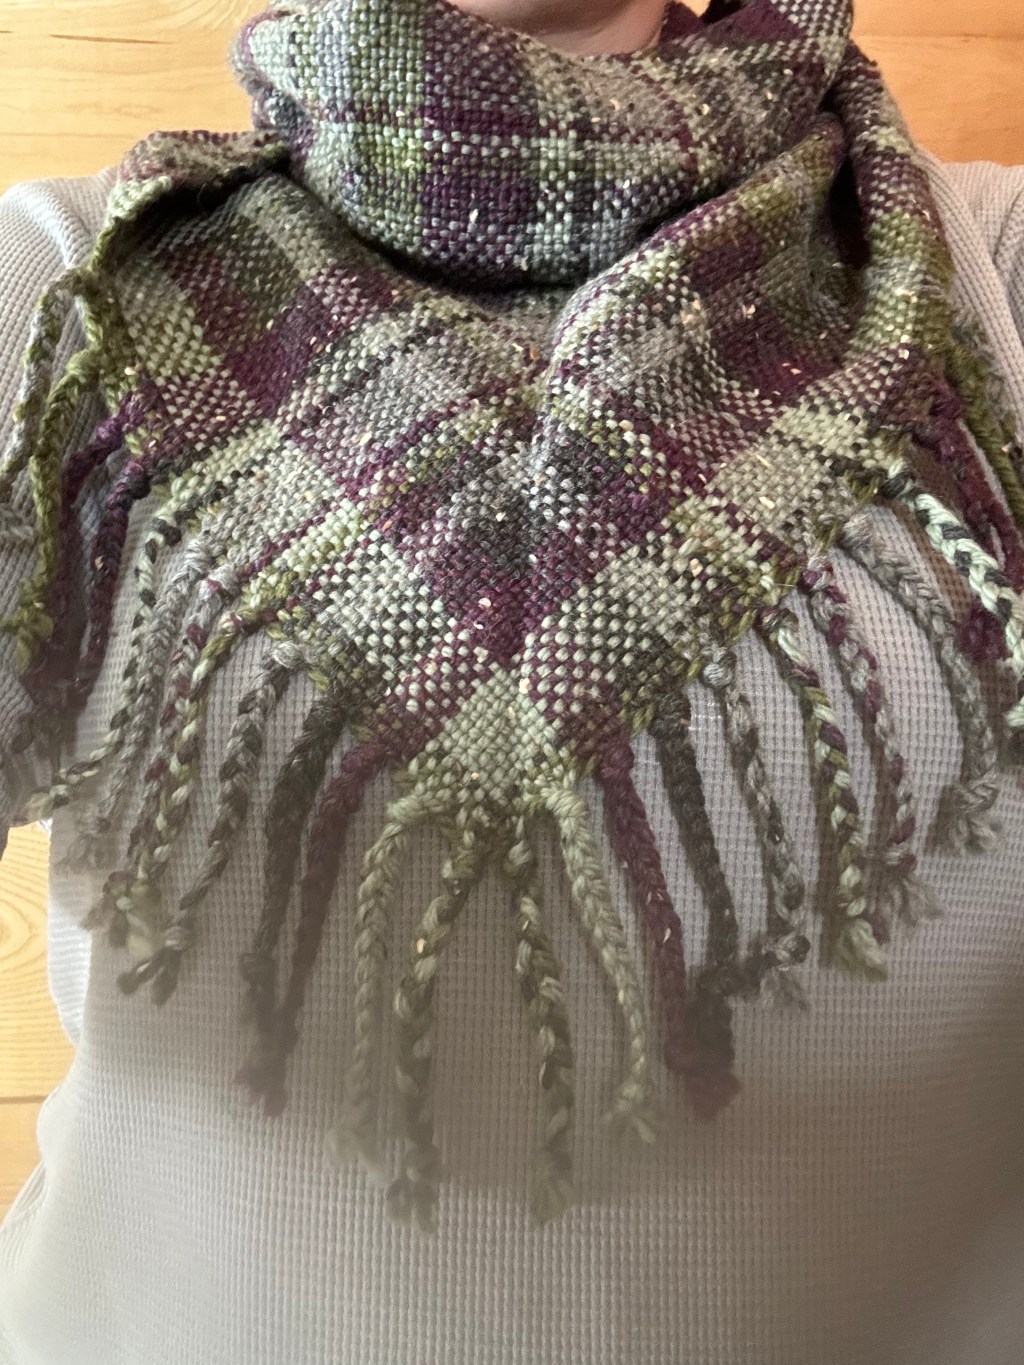
Here’s my recently finished v-cowl. The fun thing about this latest iteration of the project is the plaid. I really wanted to try my hand at creating a plaid pattern and I chose the v cowl project as the introduction into the plaid color work. I made the pattern up as I went along the warp, simply changing color whenever I felt the desire. We’ll go over how I felt about that at in the How did it go? section. But before we get into that let me get you the technical information I used to make the v-cowl.
The Technical Details
Loom Type: 16” Rigid Heddle Loom
Reed: 7.5 dpi
Color Pattern: grays, greens, purple in plaid
Project Width: 10”
Project Length: 8’
Yarn Brand: Plymouth Yarn Company, Inc.
Yarn Type: Homestead Tweed
Yarn Colors: Charcoal Heather, Medium Grey Heather, Pale Moss Weed, Marsh, Plumberry
Yarn Breeds: 90% peruvian highland wool, 10% Donegal
Direct Warped
Plain Weave


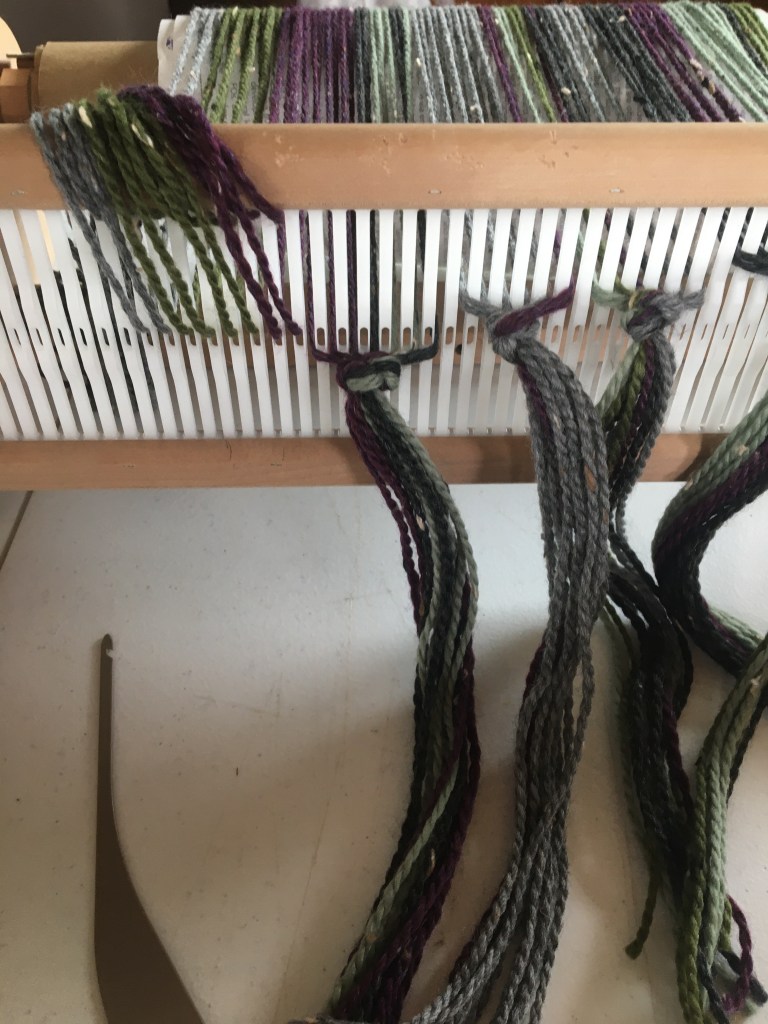

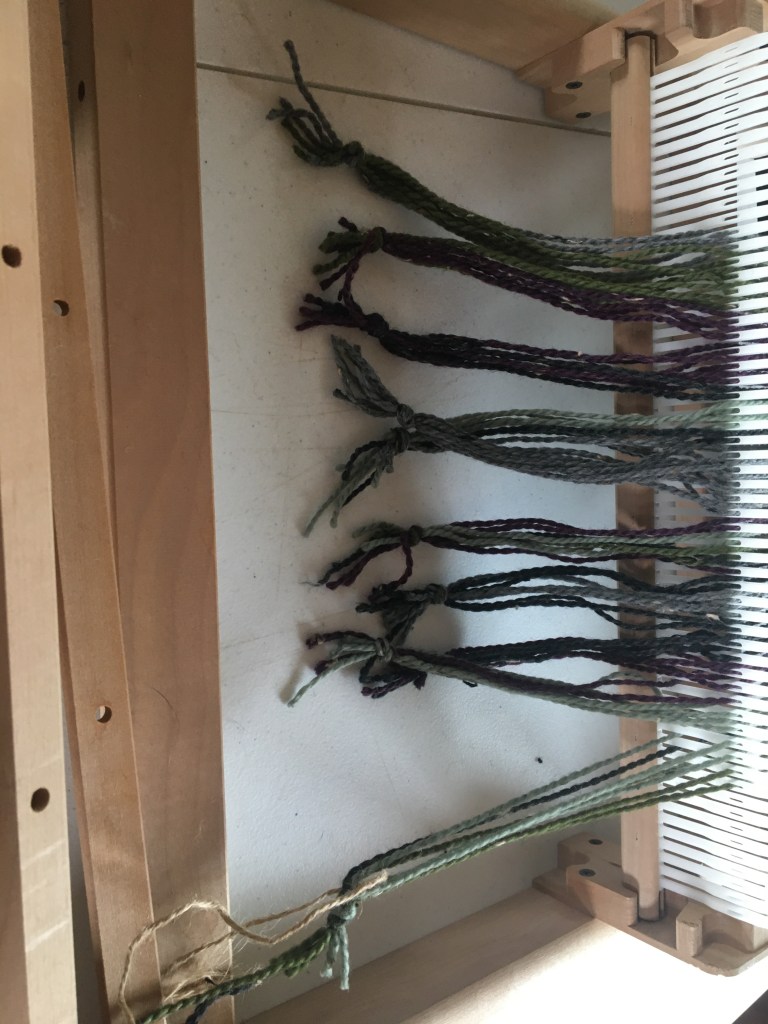
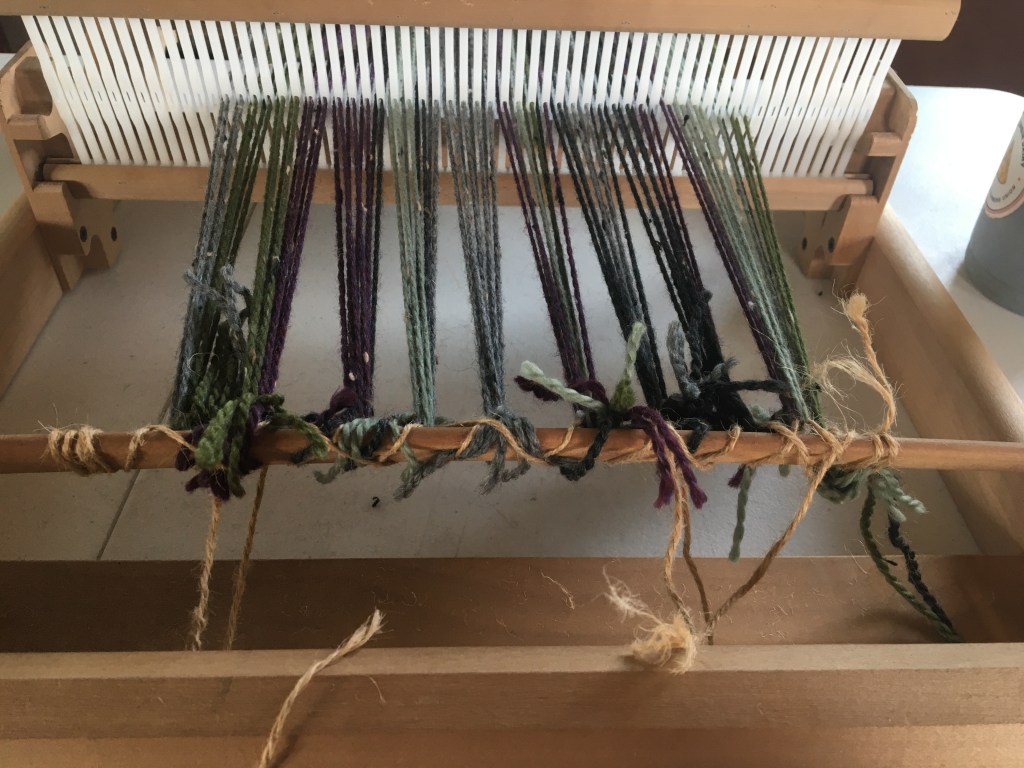
This is the stages of my direct warping process.
How did it go?
Overall I am happy with how this project turned out. I warped this project in late January 2025 and started weaving on the project soon afterwards. But I only woven about 4 inches before I stopped and didn’t pick it back up again until about a week ago. Like I said earlier, I didn’t have a specific plaid pattern in mind when warping and honestly I thought that I would do the same thing when doing the weave. Just use whatever color for as long as I wanted, whenever I wanted. I had two colors in the starting four inches I wove and maybe I was already unimpressed and that’s why I didn’t want to pick it back up. Luckily, when I decided it was time to finish the project, I decided to get my head back in the game and figure out how to make plaid look nice. I spent about 15 minutes looking at creating plaid videos and realized that you’re supposed to use the same pattern in the weft as you created in the warp. Bingo! So I unwove the original 4 inches and started over. And was immediately happier with the effect. There’s something to be said about knowing the foundations of a technique before starting.
I learned that many color changes may not be best. At the start I was cutting my yarns after each color change, weaving in the ends as I went. As you might imagine, it started getting a bit crowded. I eventually started skipping the short sections up the selvedge where I could so I didn’t have so many cuts and ends to tuck. I had quite a few color sections of two and even a one strand section. In future projects, I think minimizing the small sections would be best just for efficiency sake.
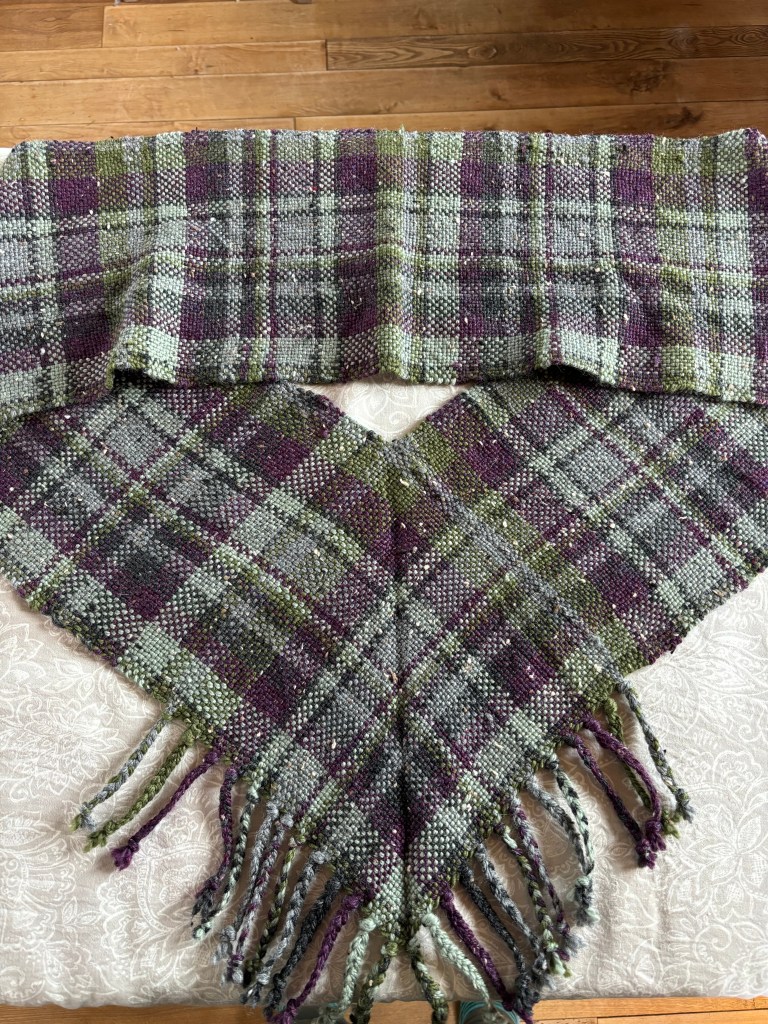
The only other part I had some trouble with, and I have trouble with this every time is the joining together part. I did a particularly bad job joining the sections this time because I forgot to leave a tail on the first weft strand, which is important for take up when you join the sections together. As you can see in the picture, I ended up having to cut the first two weft passes so I wouldn’t end up with a bunched up end. This made for the uneven join in the two joining gray sections. Probably not something that anyone else will notice but I am very annoyed by it.

You can see at the top of the photo how wide that gray section is supposed to be and how narrow it gets at the bottom because I forgot to account for take up.

You can see on this join I remembered the take up and while it has other problems, the joining sections are the right width all the way through.
Conclusion
I really love this project. It’s deceptively easy to make and has the very ego boosting outcome of making the final product look like something that looks challenging. It’s a really fun way to play with colors and do some color work practice. The joining of the edges is a great new technique for Rigid Heddle users and a great way to build your skills on the relatively simple loom. I’m always on a mission to improve my selvedges when I work on a weaving project. And I also really love the final product. I hate cold drafts on my neck and these cowls are warm and cozy, and have an added benefit of adding an extra layer for your chest. Beautiful and functional!
Happy weaving!


Leave a comment